
Your tile floors and shower walls were sold to you as a 30-year finish. In nearly every new East Valley build we inspect, those same surfaces are quietly failing within 3 years of close. The cracks, the hollow tiles, the powdery grout, the leaks behind the wall: none of it is bad luck. It is the same three installation defects, repeated in subdivision after subdivision, hidden behind a one-year workmanship warranty that the builder is counting on you to miss. Here are the top three reasons, the two annoying bonuses, and the exact documentation you need before the warranty window slams shut.
If you just closed on a new build or finished a remodel, stop reading and walk every tile floor and shower right now. Photograph everything. The defects below cost the builder thousands to repair. They cost you nothing inside the warranty window and tens of thousands the day after it expires.
#1 Improper Subfloor Prep: The 30-Year Floor That Lasts 3
Every tile failure starts at the substrate. In a production East Valley build, the subfloor is poured, cured, walked on by ten trades, sprayed with curing compounds, splashed with drywall mud, dripped with paint, and then tiled over without a single moisture reading or scarification pass. A waxy curing-compound residue, a film of drywall dust, or a slick of paint overspray is enough to keep mortar from ever bonding to the slab. The tile looks perfect at close. It begins to delaminate the moment the slab cycles through its first Arizona summer.
Shower pans are worse. The TCNA standard requires a continuous, tested waterproofing membrane carried up the walls and bonded to the drain flange. What we find in production builds is a sheet membrane terminated short, no flood test, no pre-slope under the pan, or a liquid membrane rolled on too thin to read the manufacturer's required mil thickness. The shower looks finished. Water is already wicking into the framing behind the curb on day one.
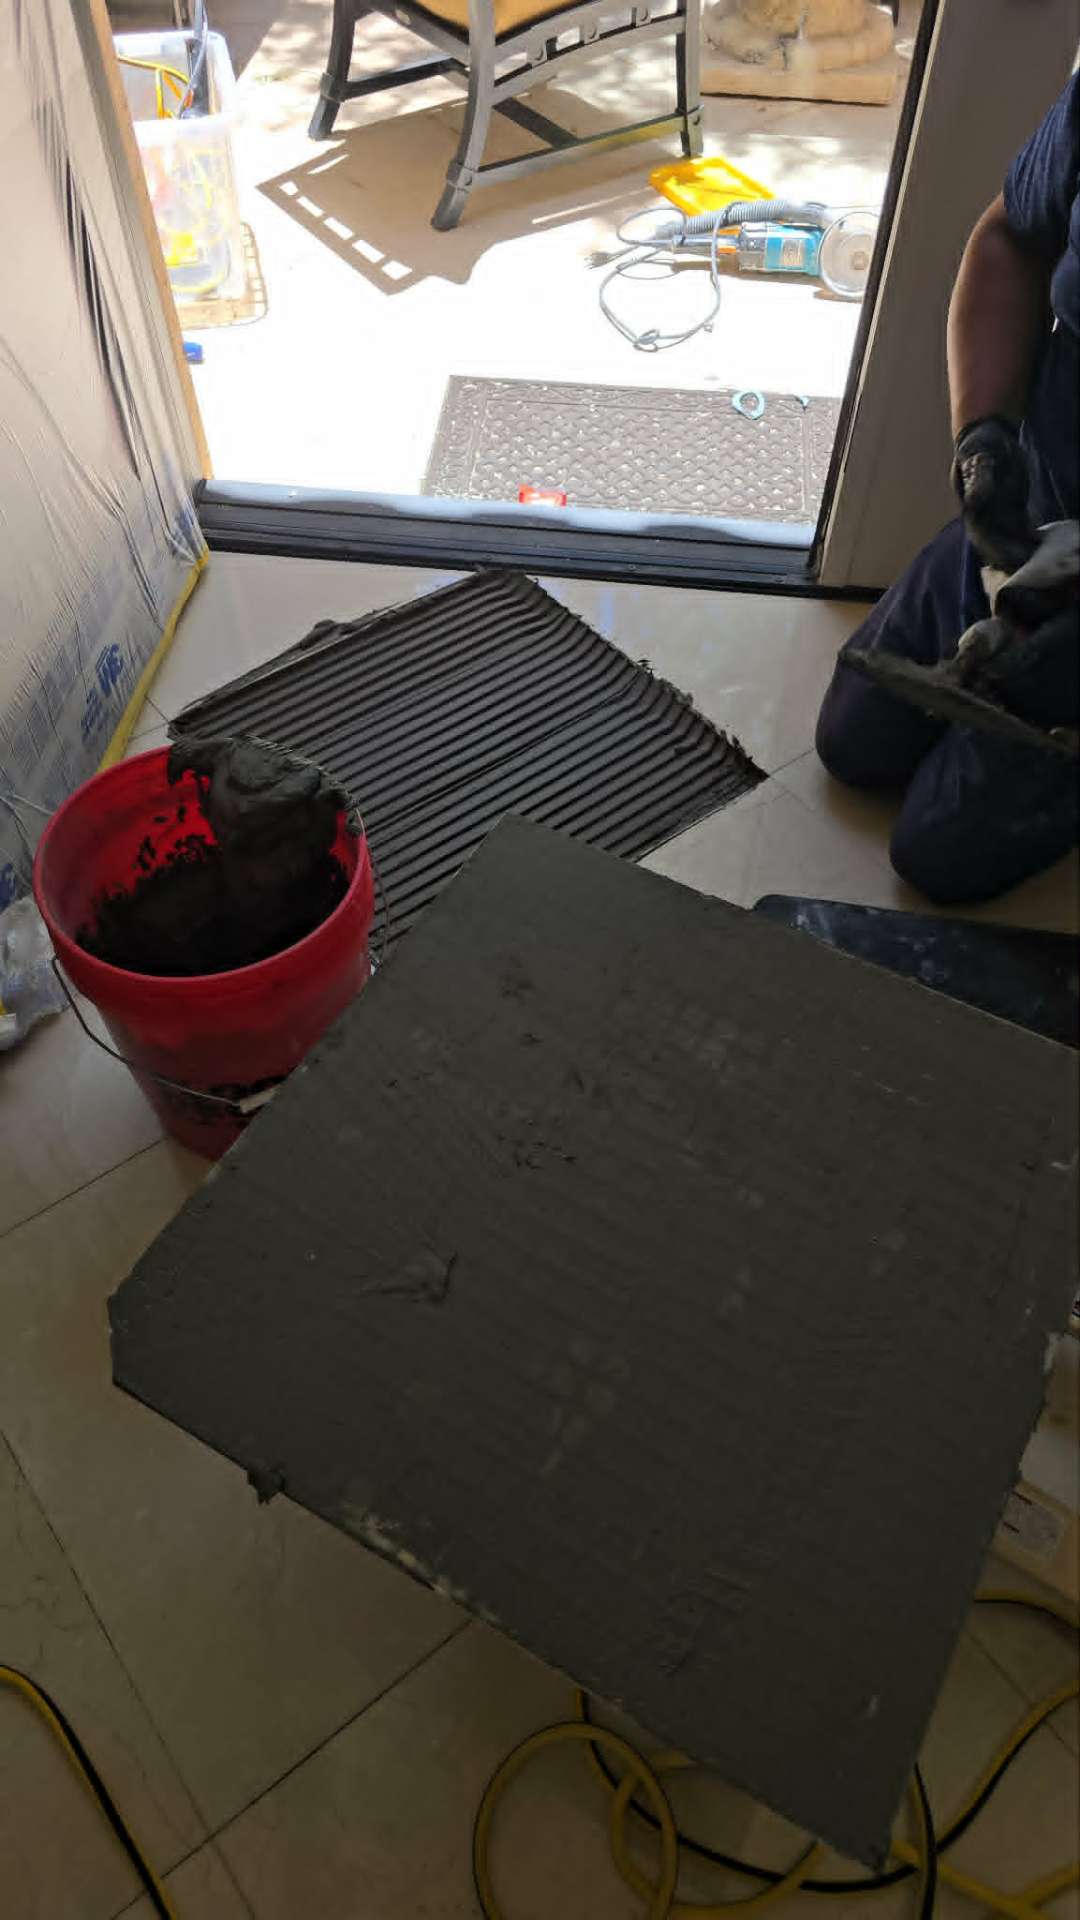
- Waxy or unscarified slabs prevent thinset from ever achieving a mechanical bond, guaranteeing future delamination
- Missing or thin shower waterproofing membranes allow water to wick into framing within months
- No pre-slope under shower pans traps standing water against the membrane until it fails
- Skipped flood test means leaks are discovered only when the downstairs ceiling stains
- No crack isolation membrane over slab control joints transmits every slab movement straight into the tile
Before drywall closes, get phone photos of every shower pan, every curb, every drain flange, and the entire slab where tile will land. Once it is covered up, you have no proof and no leverage. These photos are the single most valuable warranty document you will ever own.
#2 Spot-Bonded Mortar and Zero Back-Buttering: The Hollow-Tile Time Bomb
Walk any new East Valley build and tap the tile with a coin. In four out of five homes you will hear the same hollow drum across half the floor. That sound is air. Production installers, paid by the square foot, save minutes per tile by dabbing four or five blobs of thinset on the back corners instead of combing a full mortar bed and back-buttering the tile. The TCNA standard for interior dry areas is 80 percent mortar coverage. For wet areas and exterior, it is 95 percent. What we measure when we pull a failed tile is 20 to 40 percent.
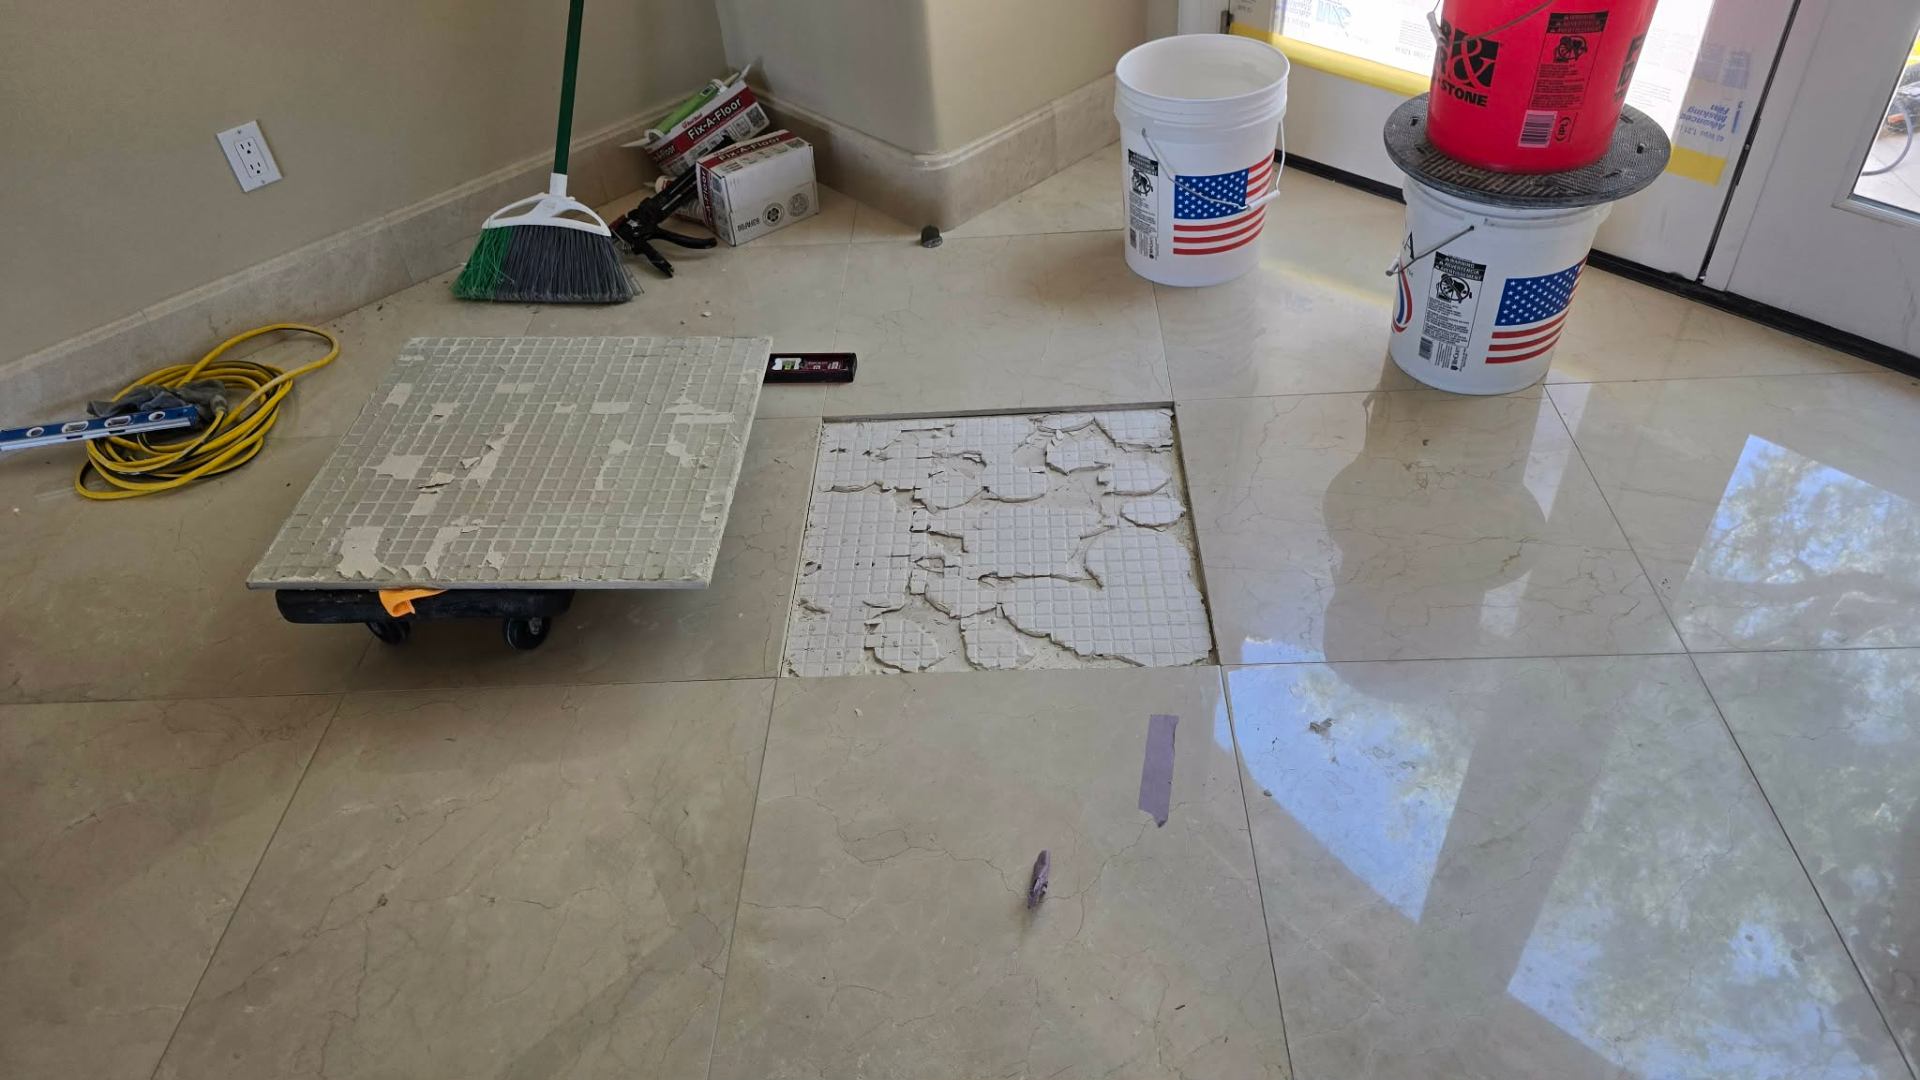
Add to that the missing crack isolation membrane. Arizona slabs move. They expand in 115-degree summers and contract on 35-degree winter nights. Every slab has control joints designed to absorb that movement. When tile is bonded directly across those joints without an anti-fracture membrane like Schluter Ditra or a comparable sheet, the slab pulls the tile apart from below. Spot-bonded tile over a moving slab is guaranteed to crack, lippage will develop, and the hollow drum will turn into a cracked tile inside 24 months.
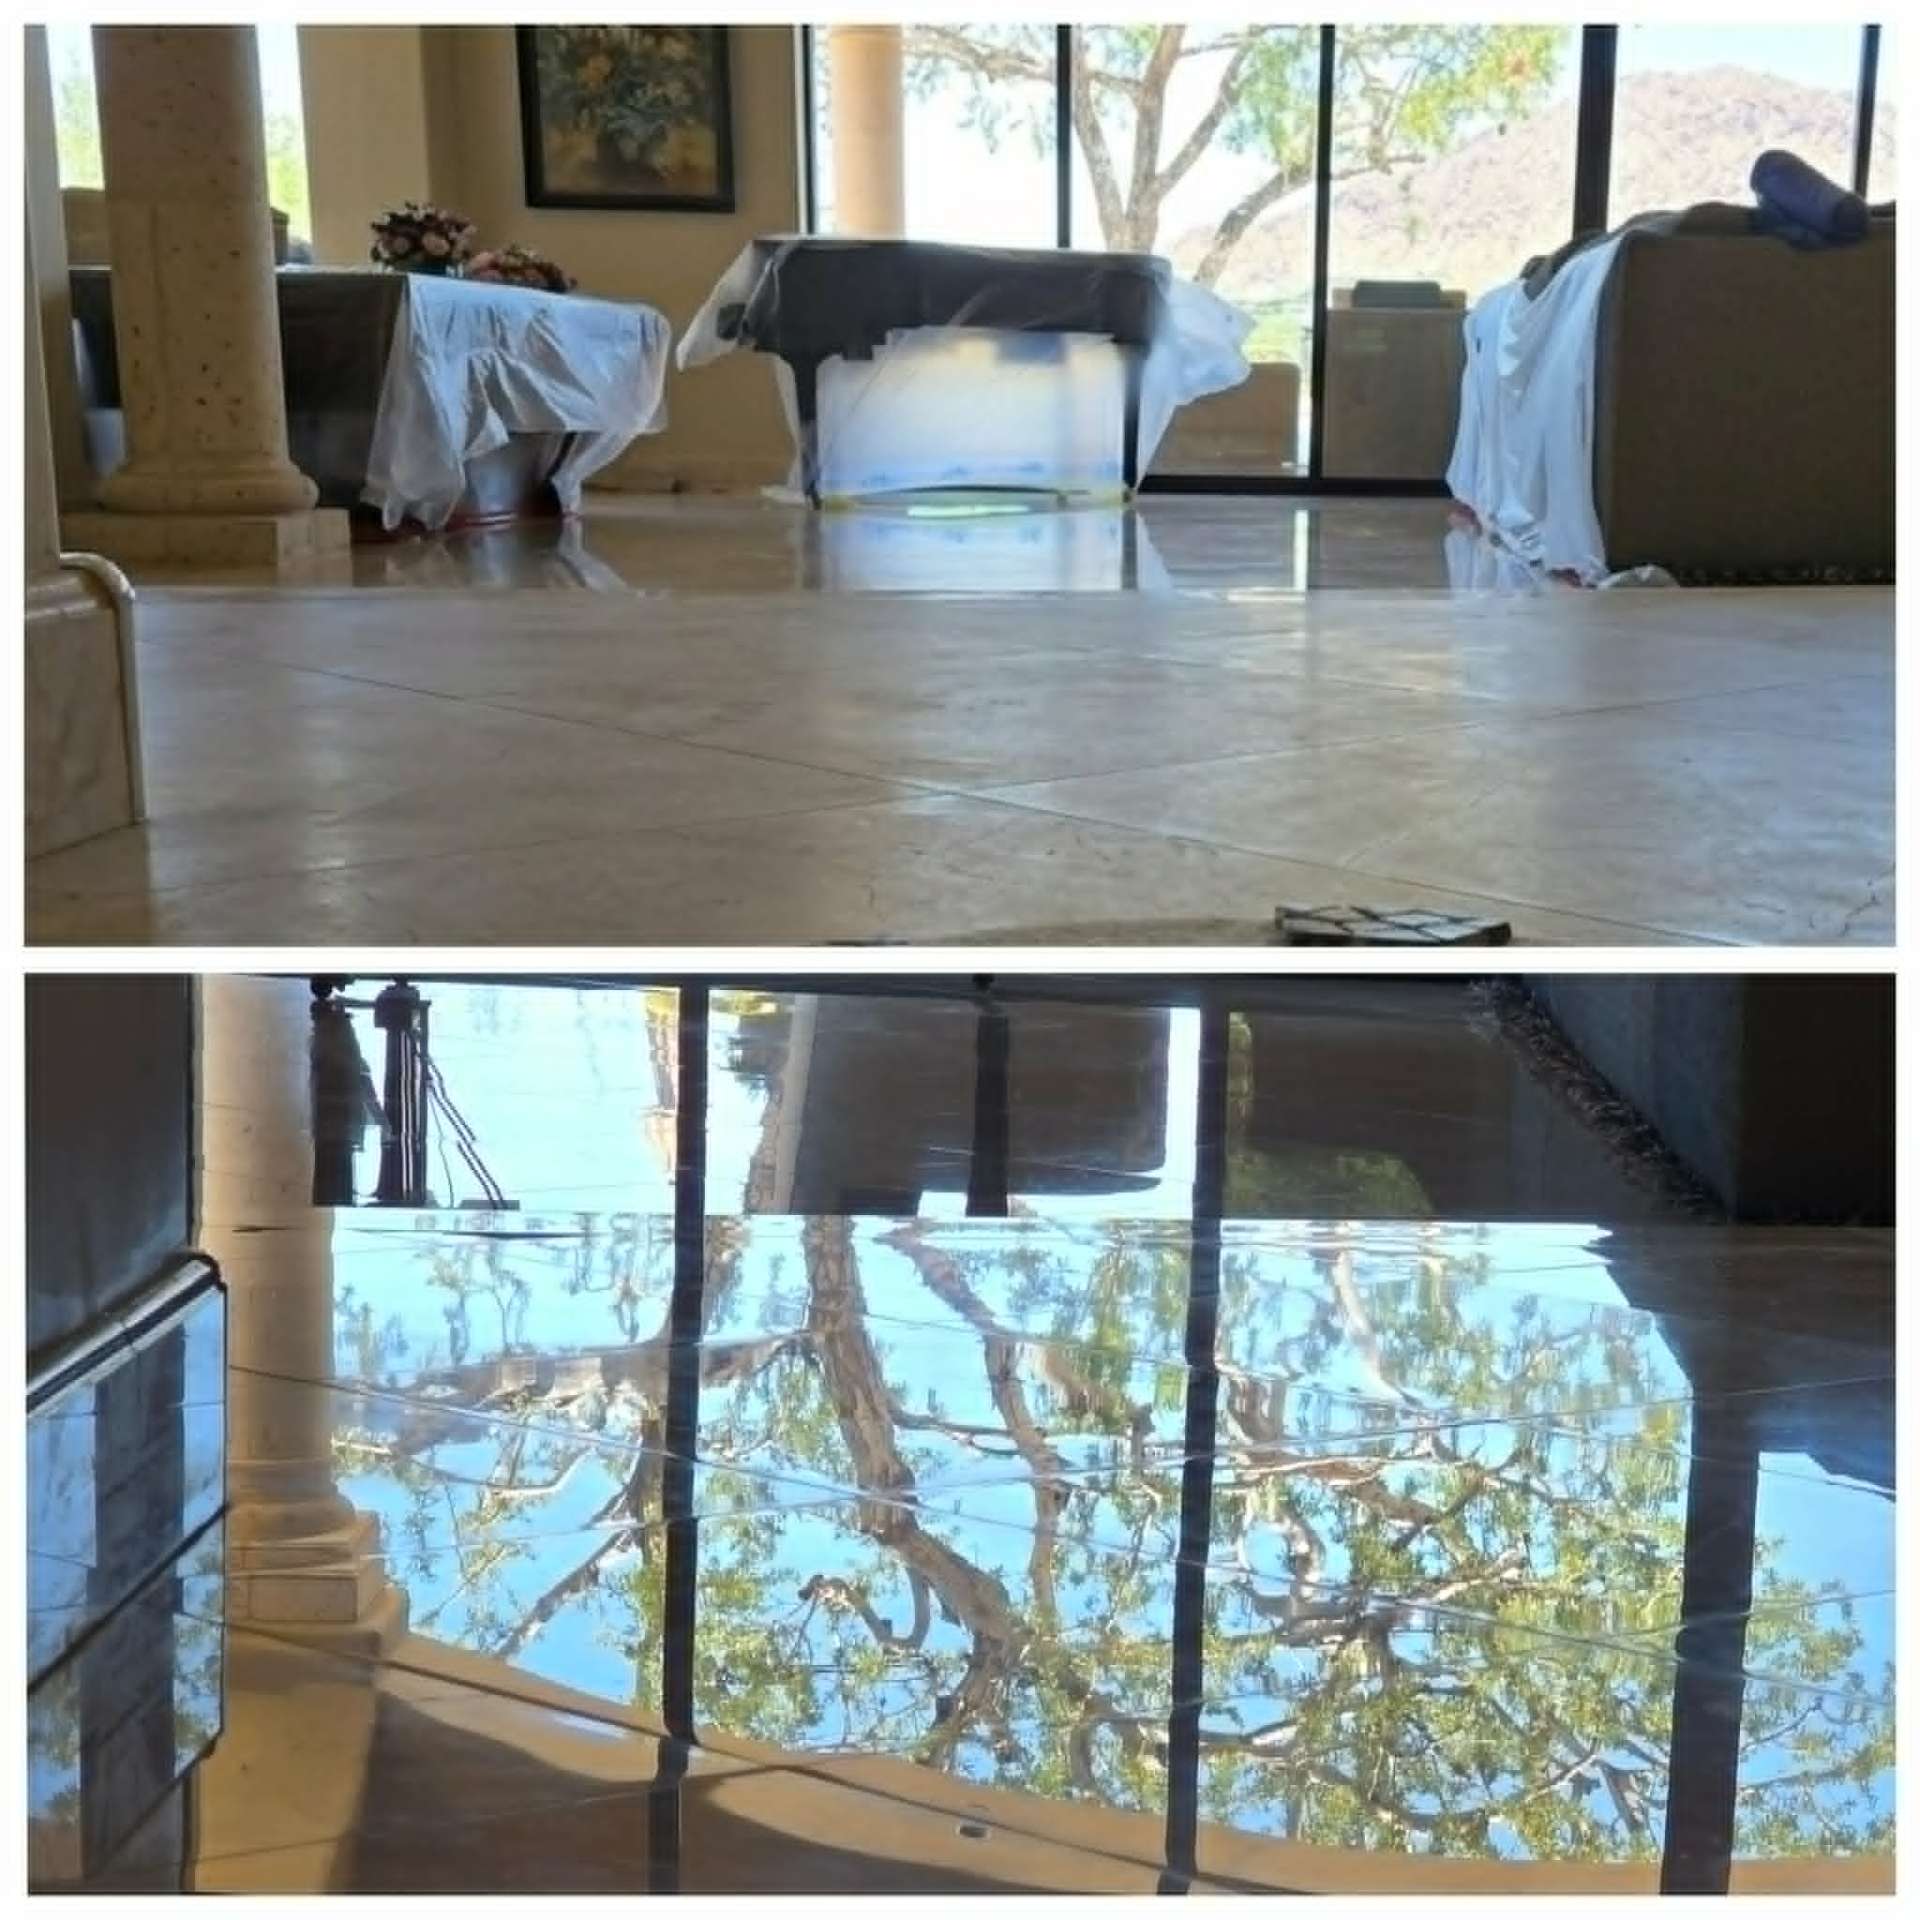
- Spot bonding leaves the center of every tile unsupported, so foot traffic and dropped objects crack the tile from below
- Hollow voids under tile collect moisture, breed mold, and accelerate grout joint failure
- Missing crack isolation membrane transmits every slab control joint movement directly into the field tile
- Once a hollow tile cracks, adjacent tiles begin to follow as the failure radiates outward
- A coin tap across the floor is the fastest way to map hollow tile yourself before calling for an inspection
#3 Over-Watered, Powdery Grout: The Joint That Crumbles in Year One
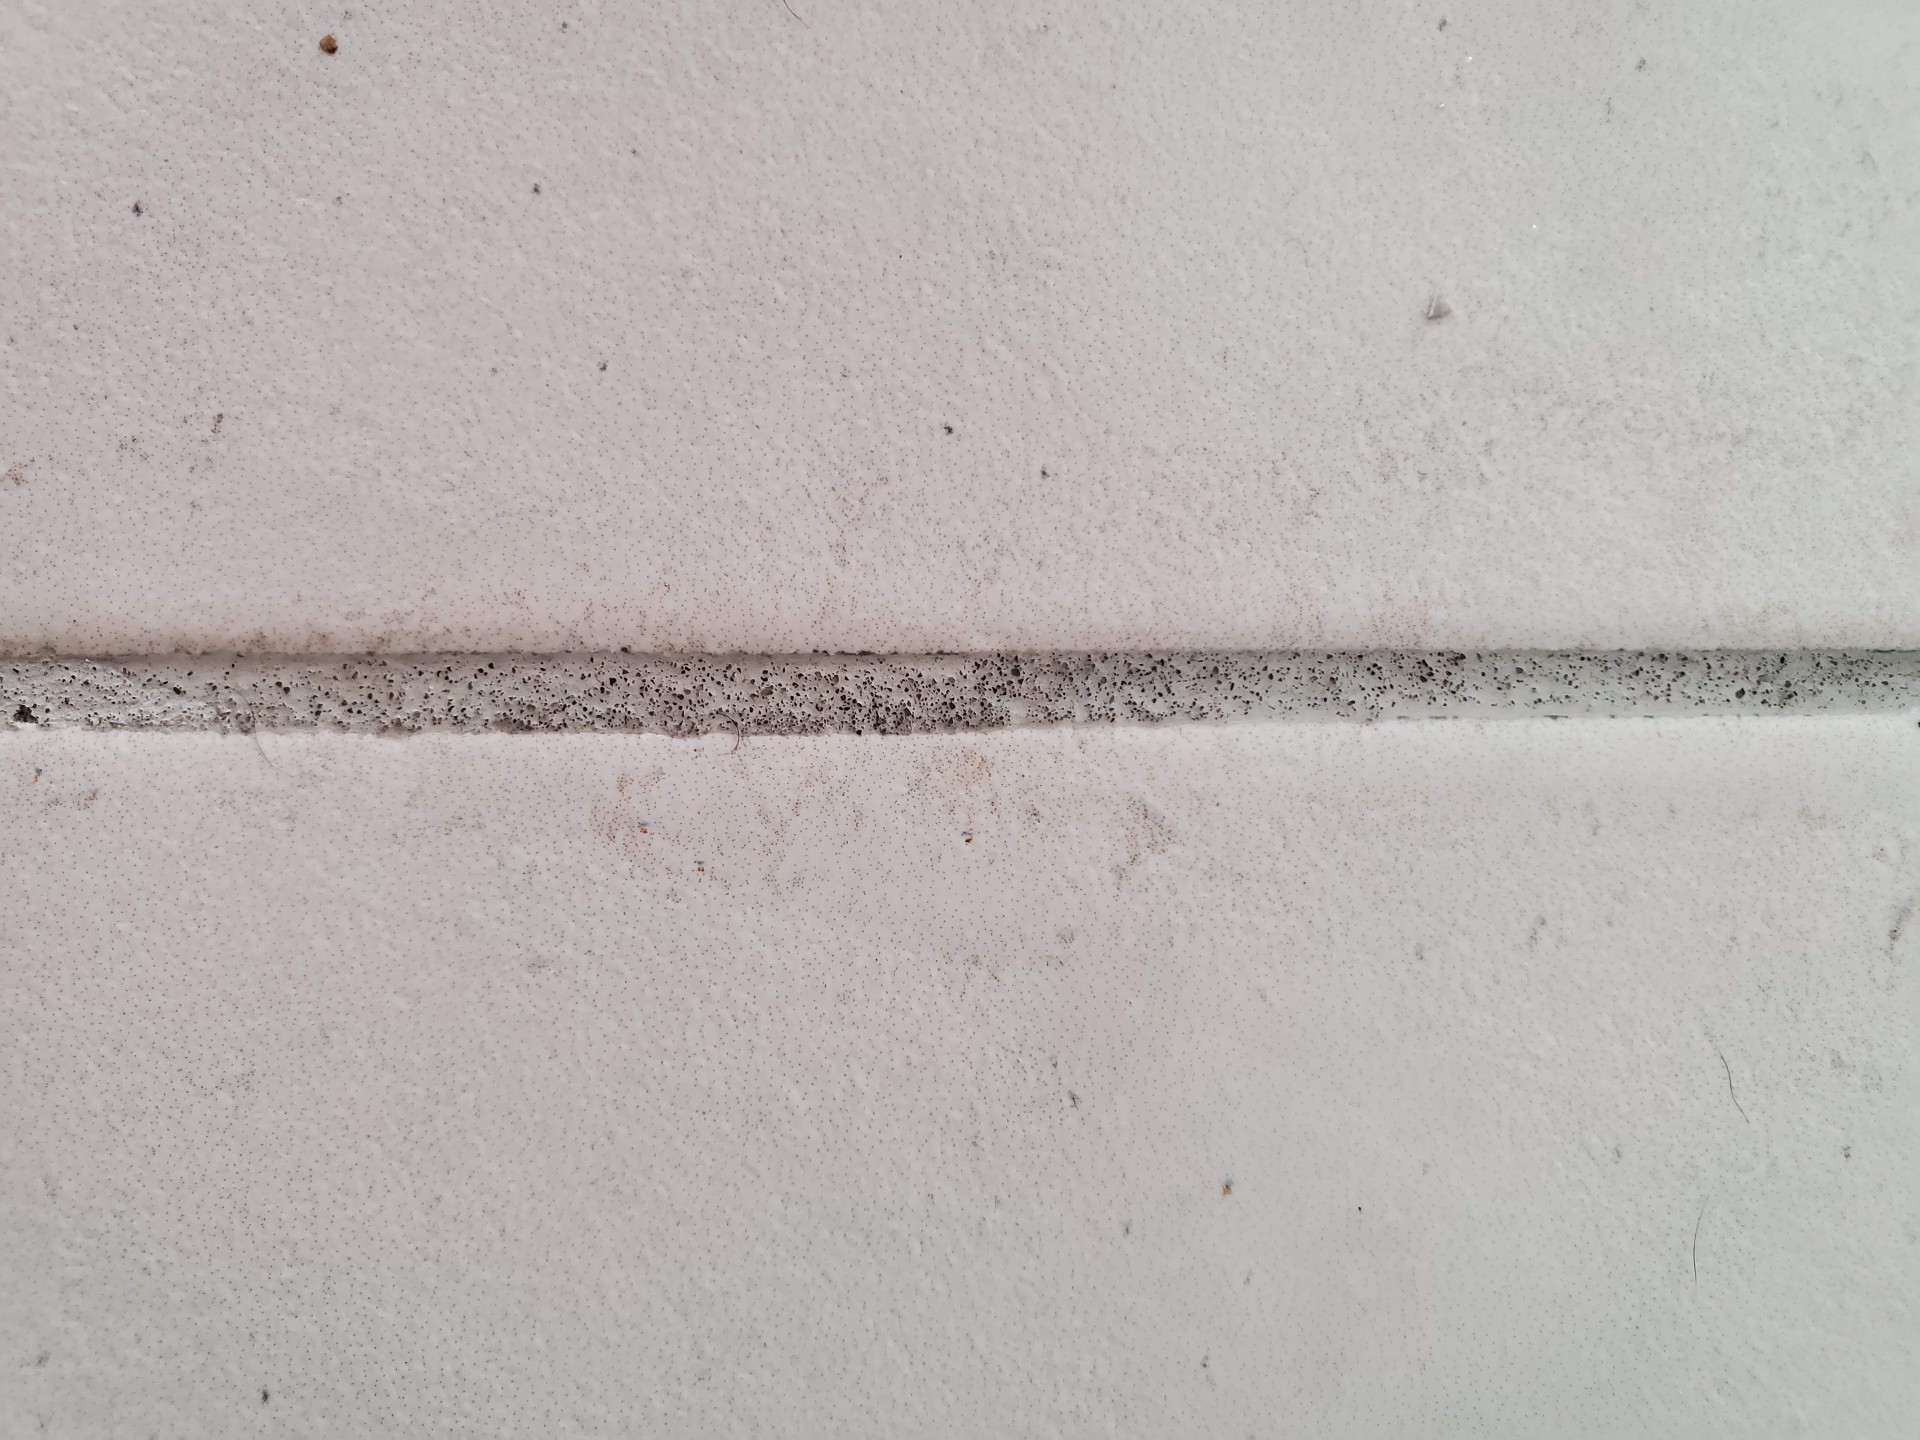
Grout is cement. Cement needs a precise water-to-powder ratio to fully hydrate and develop strength. On a production schedule, installers regularly over-water the mix to make it easier to spread, then over-water it again during the final wipe-down to clean up haze. The result looks fine at close. Six months later the joints are powdery, pinholes appear across the surface, and a fingernail flicks particles out of the joint. The grout never reached its design strength and now acts like a sponge, absorbing every drop of mop water, soap, and soil that lands on it.
It is worth repeating because it is the single most common new-build defect we restore: any new-construction or remodel grout that feels soft, sandy, or powdery in the first two years is an installation failure, not normal wear, and it is almost always covered by the builder's one-year workmanship warranty if you document and submit the claim in time.
Two More Defects Quietly Destroying Your New Build
- Leftover grout haze never neutralized or removed: a thin cement film cures across the entire floor, and within months that film grabs every footprint of soil and turns the whole floor a flat dirty black that no household cleaner can lift. By the time it looks bad, it requires a professional acidic strip and rinse to recover.
- Grout never sealed at handoff: cement grout is one of the most porous materials in your home. An unsealed joint stains within the first few mop passes as dirty water is pulled straight into the pores. Within a year the grout is permanently discolored and the only real fix is a professional deep clean followed by a color seal.
If you just closed on a new build or finished a major remodel, this is the most important paragraph on the page. Walk every floor and every shower in the first 30 days, photograph anything that looks off, and put your concerns in writing to the builder before the one-year workmanship warranty closes. Every defect above is documented in TCNA and ANSI standards, every one is repairable, and every one is the builder's responsibility while the window is open.
How to Stop It Before Your Warranty Expires
- Within 30 days of close, walk every tile floor with a coin and map any hollow tiles on a photo of the floor plan
- Photograph every shower wall, curb, and drain area in high resolution with the date visible
- Run a fingernail across grout joints in three rooms. If particles flick out, document it on video
- Mop a small area of unsealed grout with clean water and a white microfiber. If the cloth comes up dirty, your grout is unsealed and absorbing soil
- Submit every concern in writing to the builder, by email, with photos attached, before month 11
- Order an independent third-party inspection citing TCNA and ANSI standards. A documented report turns a dismissed cosmetic complaint into a funded repair
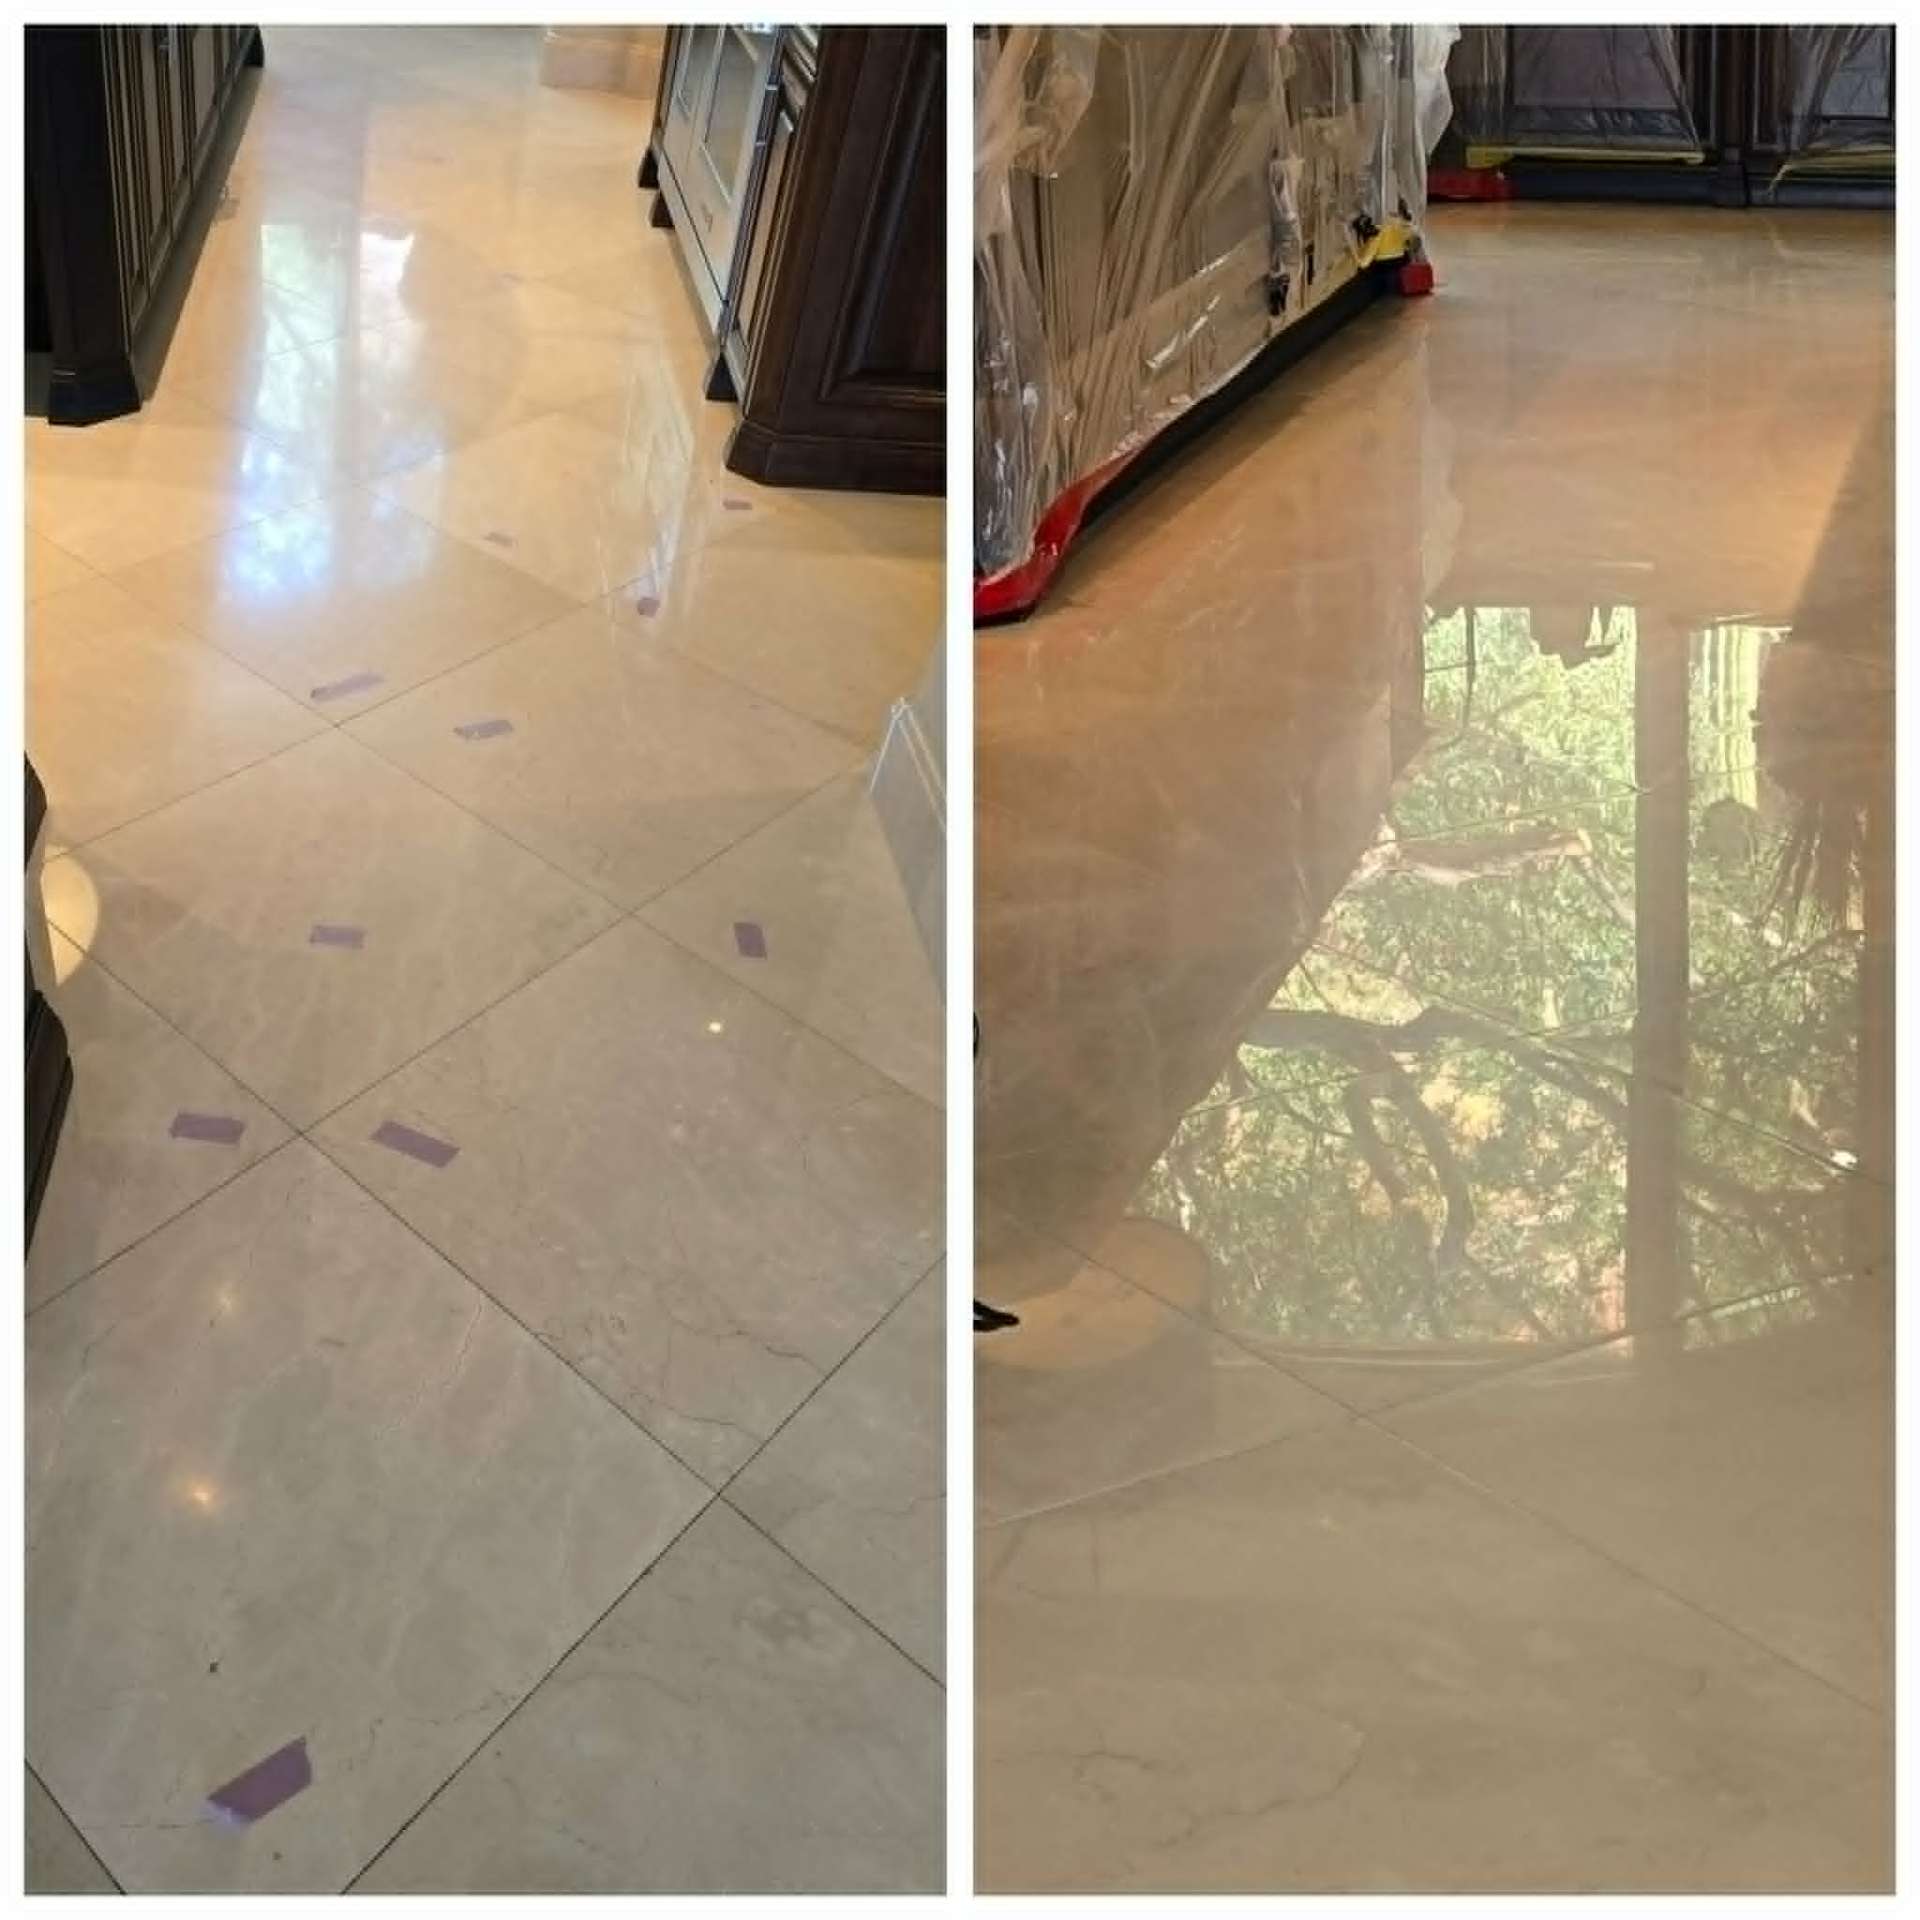
Why So Many East Valley New Builds End Up On Our Inspection List
Production schedules in Chandler, Gilbert, Queen Creek, Mesa, and the wider East Valley reward speed, not craftsmanship. Tile crews are paid by the square foot, finish trades step on uncured grout, dry desert air pulls water from cement before it can hydrate, and the entire stack of defects is invisible at walk-through. By year three, when the warranty has closed and the failures finally surface, the homeowner is the one writing the check. The only thing that changes that math is documentation inside the first year.
"Every new-build defect we restore was repairable for the builder's cost on day one and the homeowner's cost on day 366. The only variable is who took the photos in time."
Lazona Tile Care provides documented third-party new construction tile and shower inspections across Chandler, Gilbert, Mesa, Queen Creek, Scottsdale, Paradise Valley, and the entire East Valley. Every report cites TCNA and ANSI installation standards, includes high-resolution photos, and is structured to submit directly to your builder's warranty department. If repairs are needed, our restoration carries a 15-Year Warranty regardless of who installed the original work.
Buying or building a new home? Upload photos of your tile or shower through our Free New Build Assessment and we will document the defects, estimate the repair scope, and help you submit a warranty claim before your builder window closes.