
You moved into a brand-new build in the East Valley last year. The model home looked flawless. Now you run a finger across the bathroom grout and a fine white powder lifts off, joints are sandy to the touch, or entire sections are crumbling out at the edges. You are not imagining it, and it is not your fault. Powdery grout in new Chandler, Gilbert, Queen Creek, and Mesa homes is one of the most common tile defects we inspect, and the cause is almost always traceable to how the grout was mixed, installed, or cured during construction.
What 'Powdery Grout' Actually Means
Cement grout is a precision mix of Portland cement, graded sand, polymer binders, and pigments. When it is mixed and cured correctly, those ingredients form a dense crystalline matrix that should feel as hard as the tile it surrounds. Powdery grout means that matrix never fully formed. Instead of one solid joint, you have loose particles held together by little more than surface tension and pigment. Press it, and it gives up dust.
- Surface dust that lifts onto a finger or paper towel when you wipe a dry joint
- A gritty, sandy texture when you run a fingernail across the grout line
- Visible pitting, low spots, or eroded edges along the tile
- White chalky residue (efflorescence) appearing days or weeks after installation
- Sections that crumble out entirely when vacuumed or scrubbed lightly
- Color that looks blotchy, pale, or different from the original sample
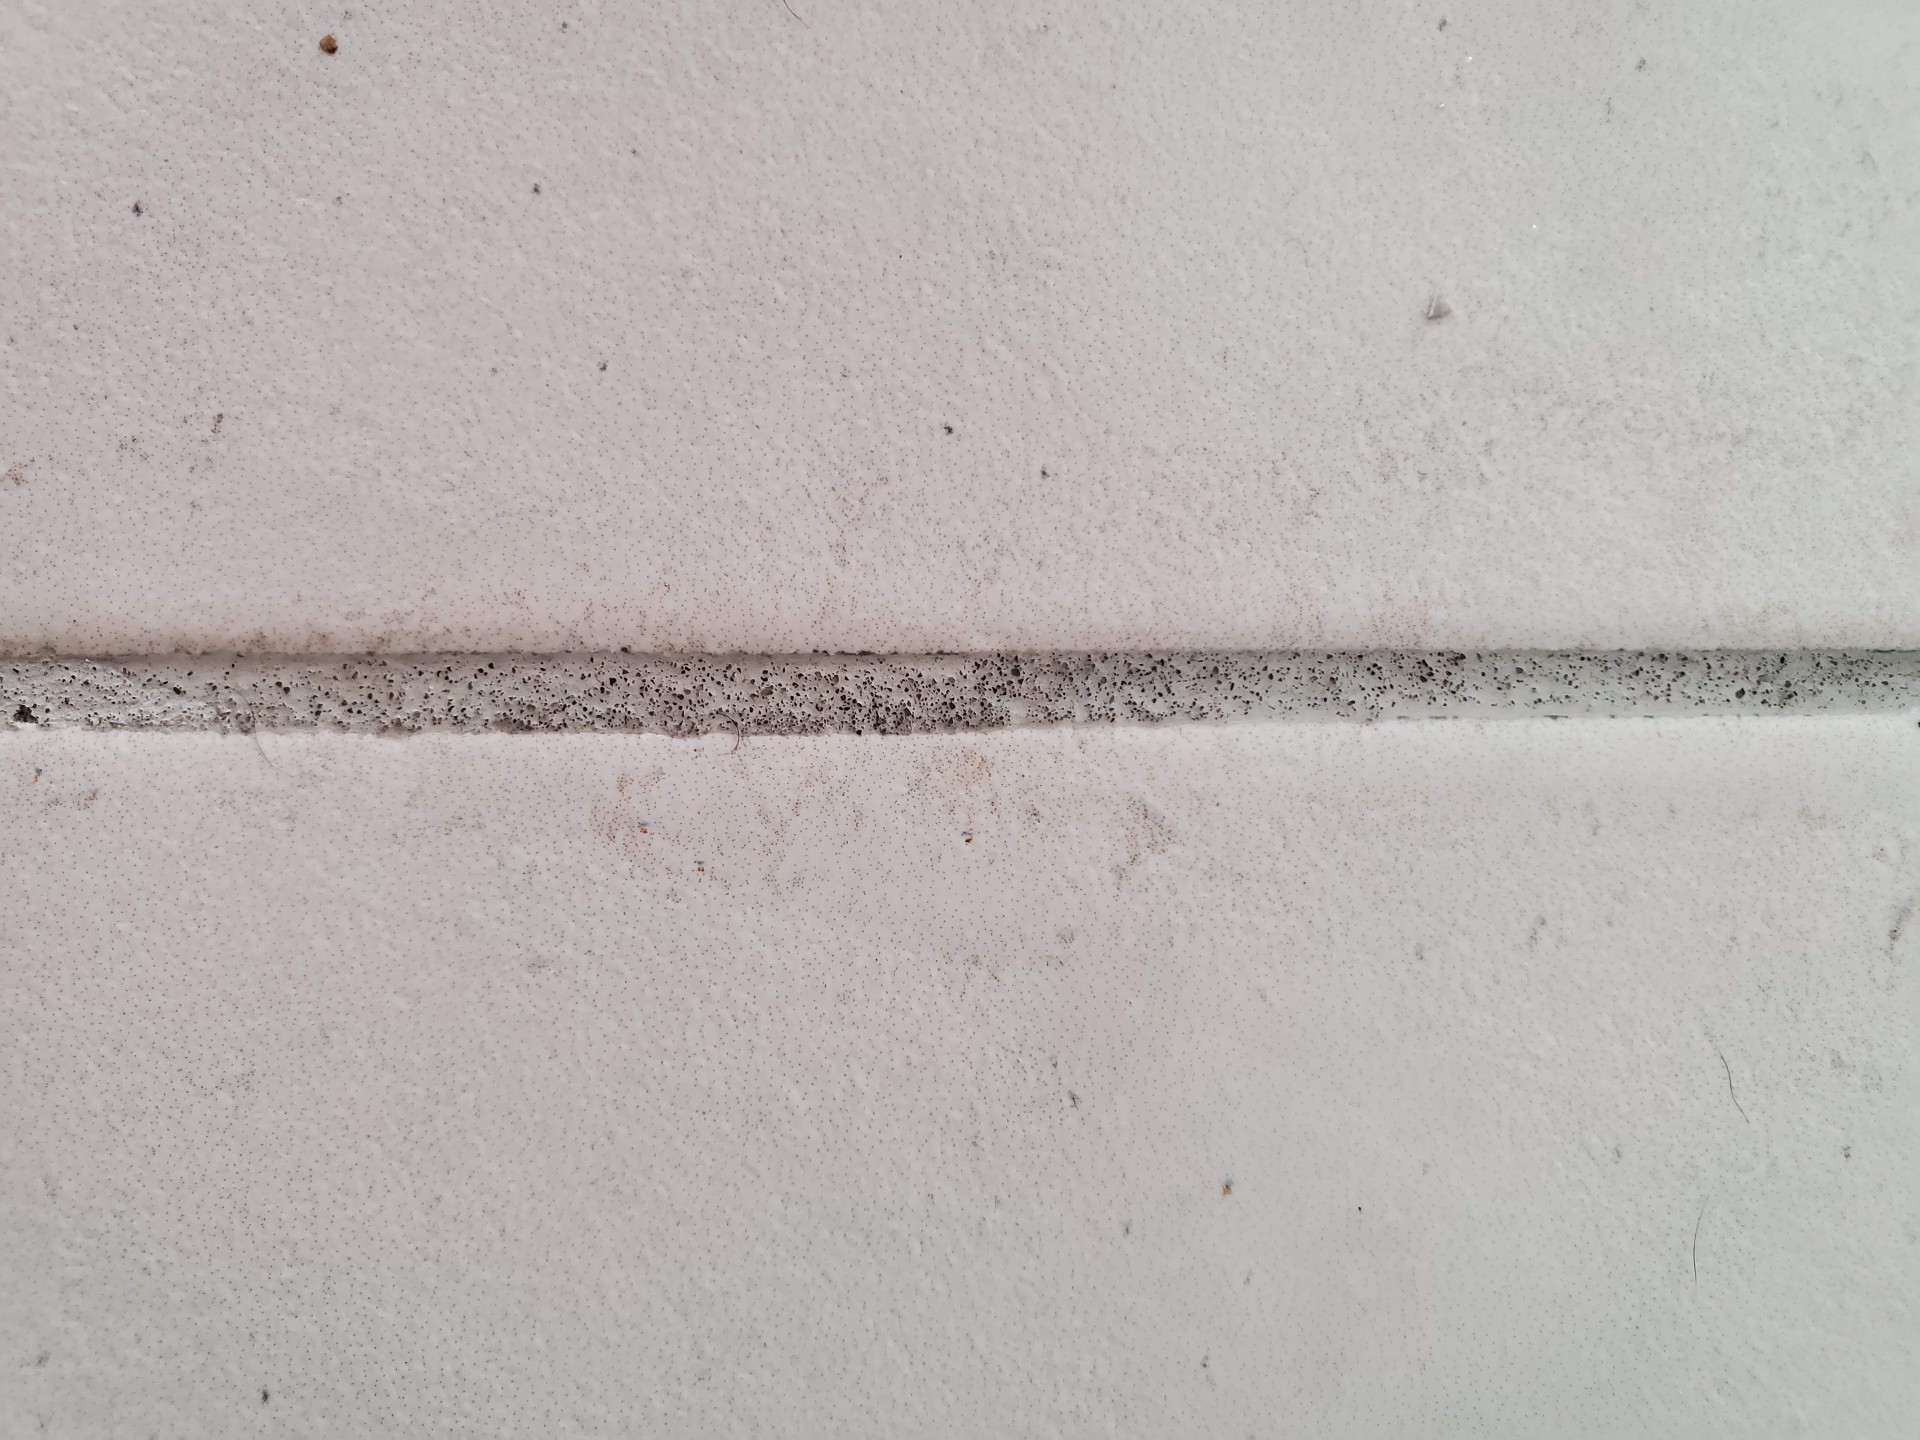
If you just closed on a new build or finished a remodel, check your grout right now. Powdery grout is a serious, time-sensitive issue. Joints continue to erode every week, water starts reaching the substrate, and your builder's one-year workmanship warranty quietly runs out. Photograph it, document it, and get it inspected immediately, not next spring.
Why It Happens So Often in East Valley New Construction
Arizona's climate is brutal on freshly placed cement, and the pace of East Valley construction does not give grout the conditions it needs to hydrate properly. The chemistry of cement requires water plus time plus stable temperature and humidity to form a strong bond. New builds in Chandler, Gilbert, and Queen Creek routinely fail on every one of those variables.
- Over-watered mix: installers thin the grout with extra water to extend working time, which weakens the cement-to-water ratio and produces a chalky cure
- Under-mixed batches: powder pockets never fully hydrate, leaving voids that crumble months later
- Rapid moisture loss: Arizona's dry heat pulls water out of fresh grout before the cement can form crystalline bonds, especially when HVAC is not yet stable
- Polymer-modified grout used outside its window: many performance grouts require precise slake times that get skipped under deadline pressure
- Sponging too aggressively: over-wiped joints lose pigment and surface cement, leaving a soft sand layer behind
- Grout placed over dusty or unclean tile: weakens the bond between joint and tile edge, so the grout pulls away as it shrinks
- Cleaning crews using acidic chemicals during final construction cleaning, which dissolves the surface of fresh grout in minutes
Any one of these is enough to produce powdery grout. In a fast-paced production build it is common to see three or four of them stacked on a single installation.
The #1 Hidden Cause: Improperly Neutralized Grout Haze Remover
After inspecting thousands of failed new-construction joints across the East Valley, we can tell you the single most common cause of brittle, powdery grout is not the mix water ratio, although that runs a close second. It is improperly neutralized grout haze remover. After tile is set, installers spray a mild acid (sulfamic, phosphoric, or a blended haze remover) to dissolve the cement film left on the tile face. That acid is supposed to be fully rinsed and pH-neutralized before it ever reaches the new grout joint. Under deadline pressure on a production build, the neutralizing rinse is often skipped, shortened, or done with the same dirty mop water that just spread the acid around.
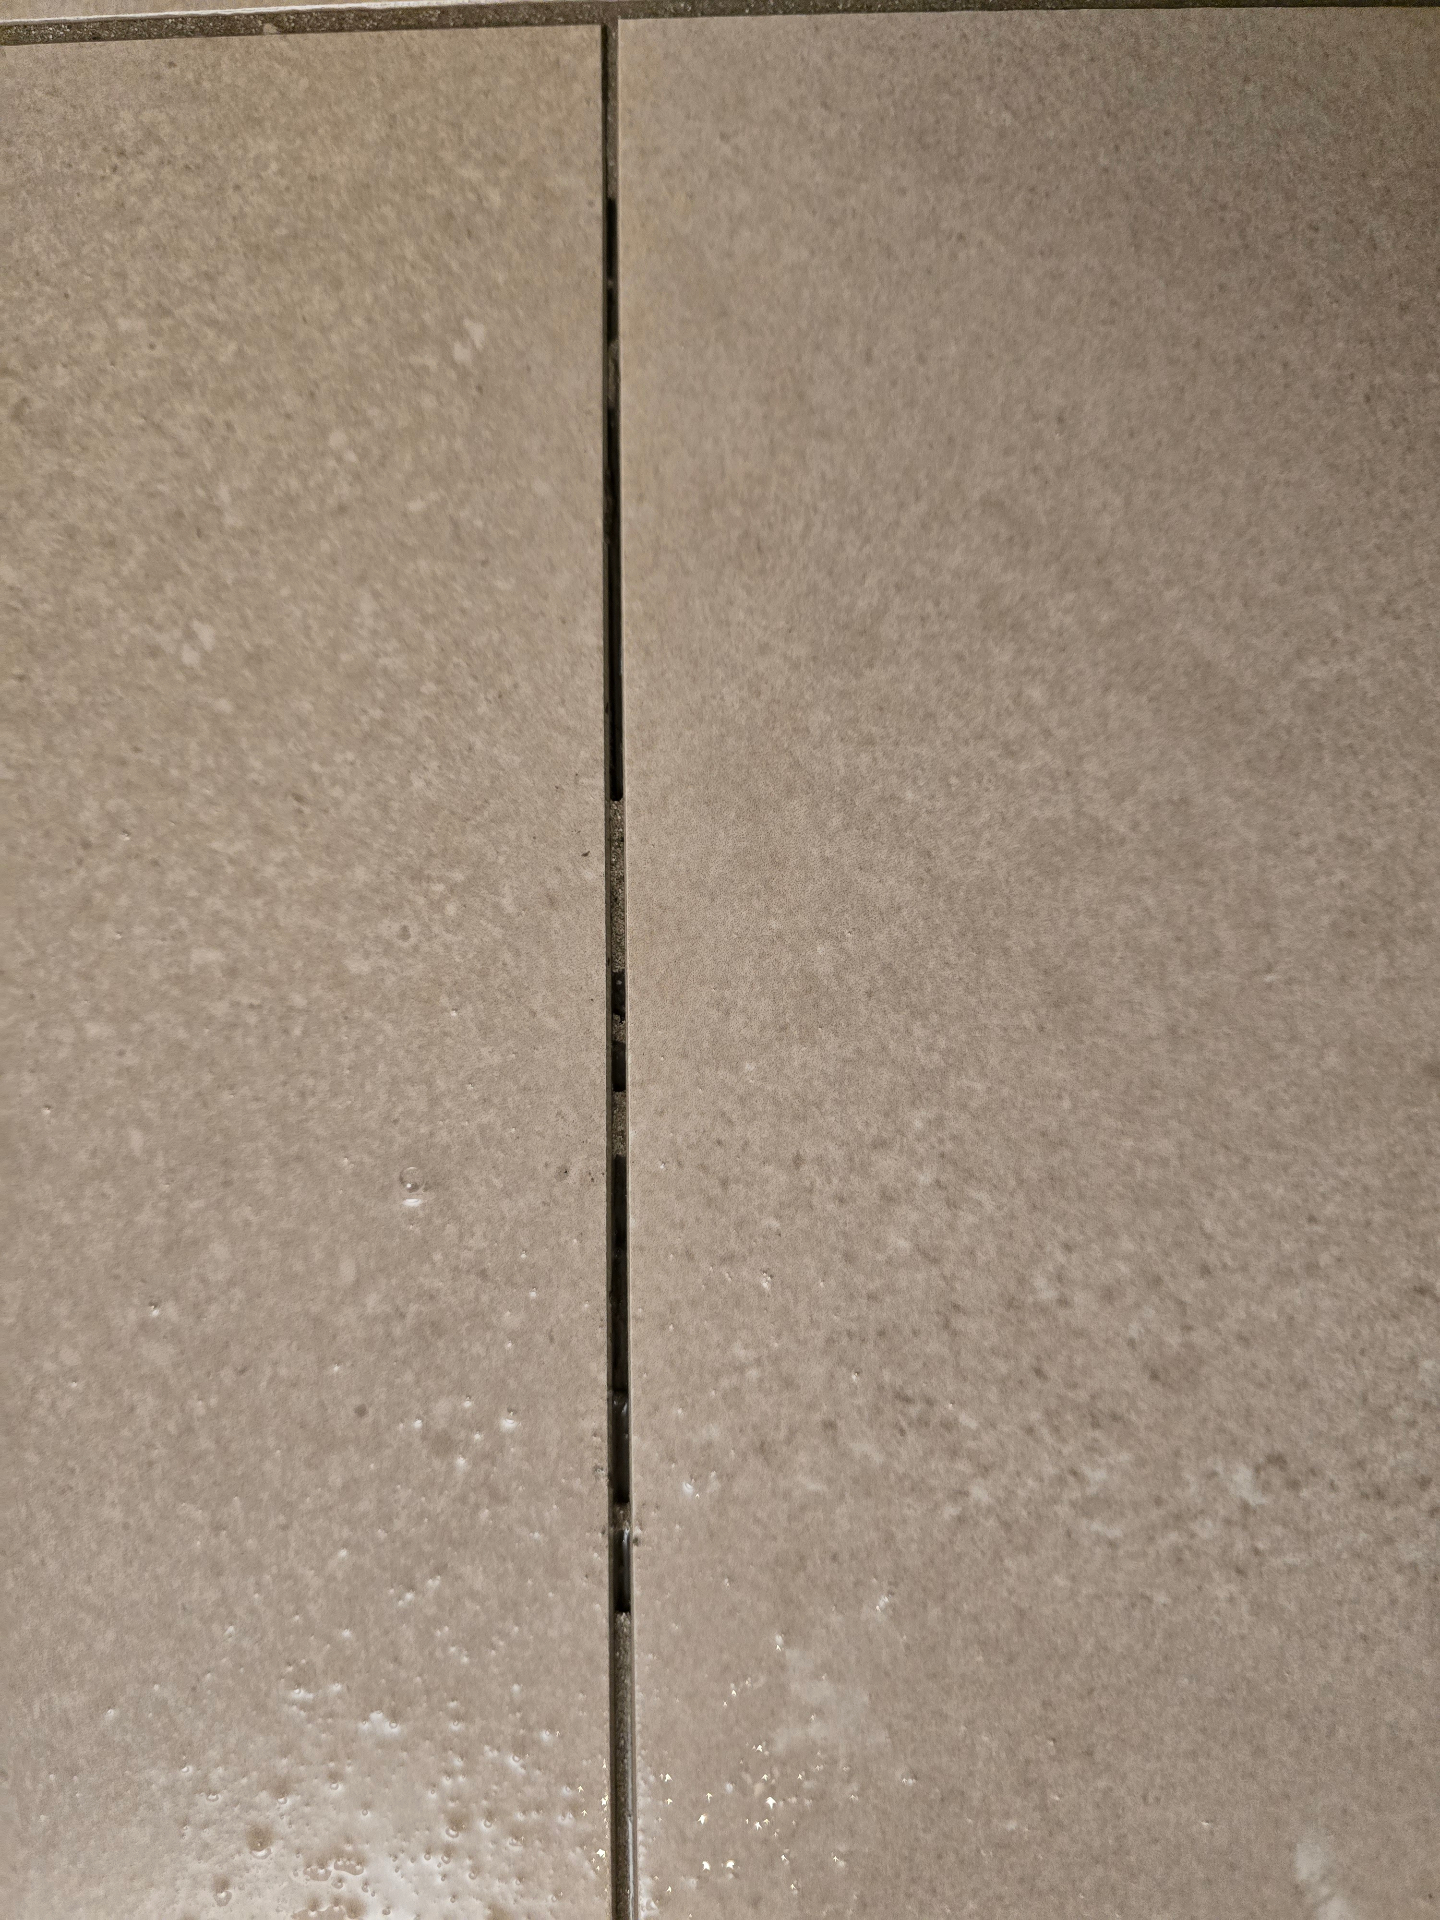
Active acid trapped in a fresh joint chews through the cement matrix from the inside while it is still trying to cure. The result is a joint that looks finished on day one and starts shedding sand by month three. Combined with an over-watered or under-mixed batch at install, you get the exact powdery failure shown in these photos: porous, pinholed, crumbling, and impossible to fix with surface cleaning.
Why Vinegar Mopping Quietly Destroys Your Grout
We hear it on almost every inspection: 'I only mop with vinegar and water, it is supposed to be safe.' Vinegar is somewhat tolerable for sealed porcelain and ceramic tile faces, but it is one of the worst things you can put on cement grout. Vinegar is acetic acid. Every mopping session dissolves a microscopic layer of the cement and pigment binding the grout together. Over months and years, that creates the exact pattern we see in Arizona homes: pinhole pitting along the joint surface, powdery dust on a dry finger swipe, and pigment fading down to a pale chalky base.
On a new build where the grout was already weakened by an unneutralized haze remover or over-watered mix, vinegar mopping accelerates the failure dramatically. What might have lasted a decade fails in 12 to 18 months. Stop using vinegar, lemon, CLR, Lysol with citric acid, or any 'natural' acidic cleaner on tile floors. Switch to a pH-neutral cleaner immediately and have the joints inspected if you have been vinegar-mopping a new build.
Efflorescence vs. True Powdery Failure
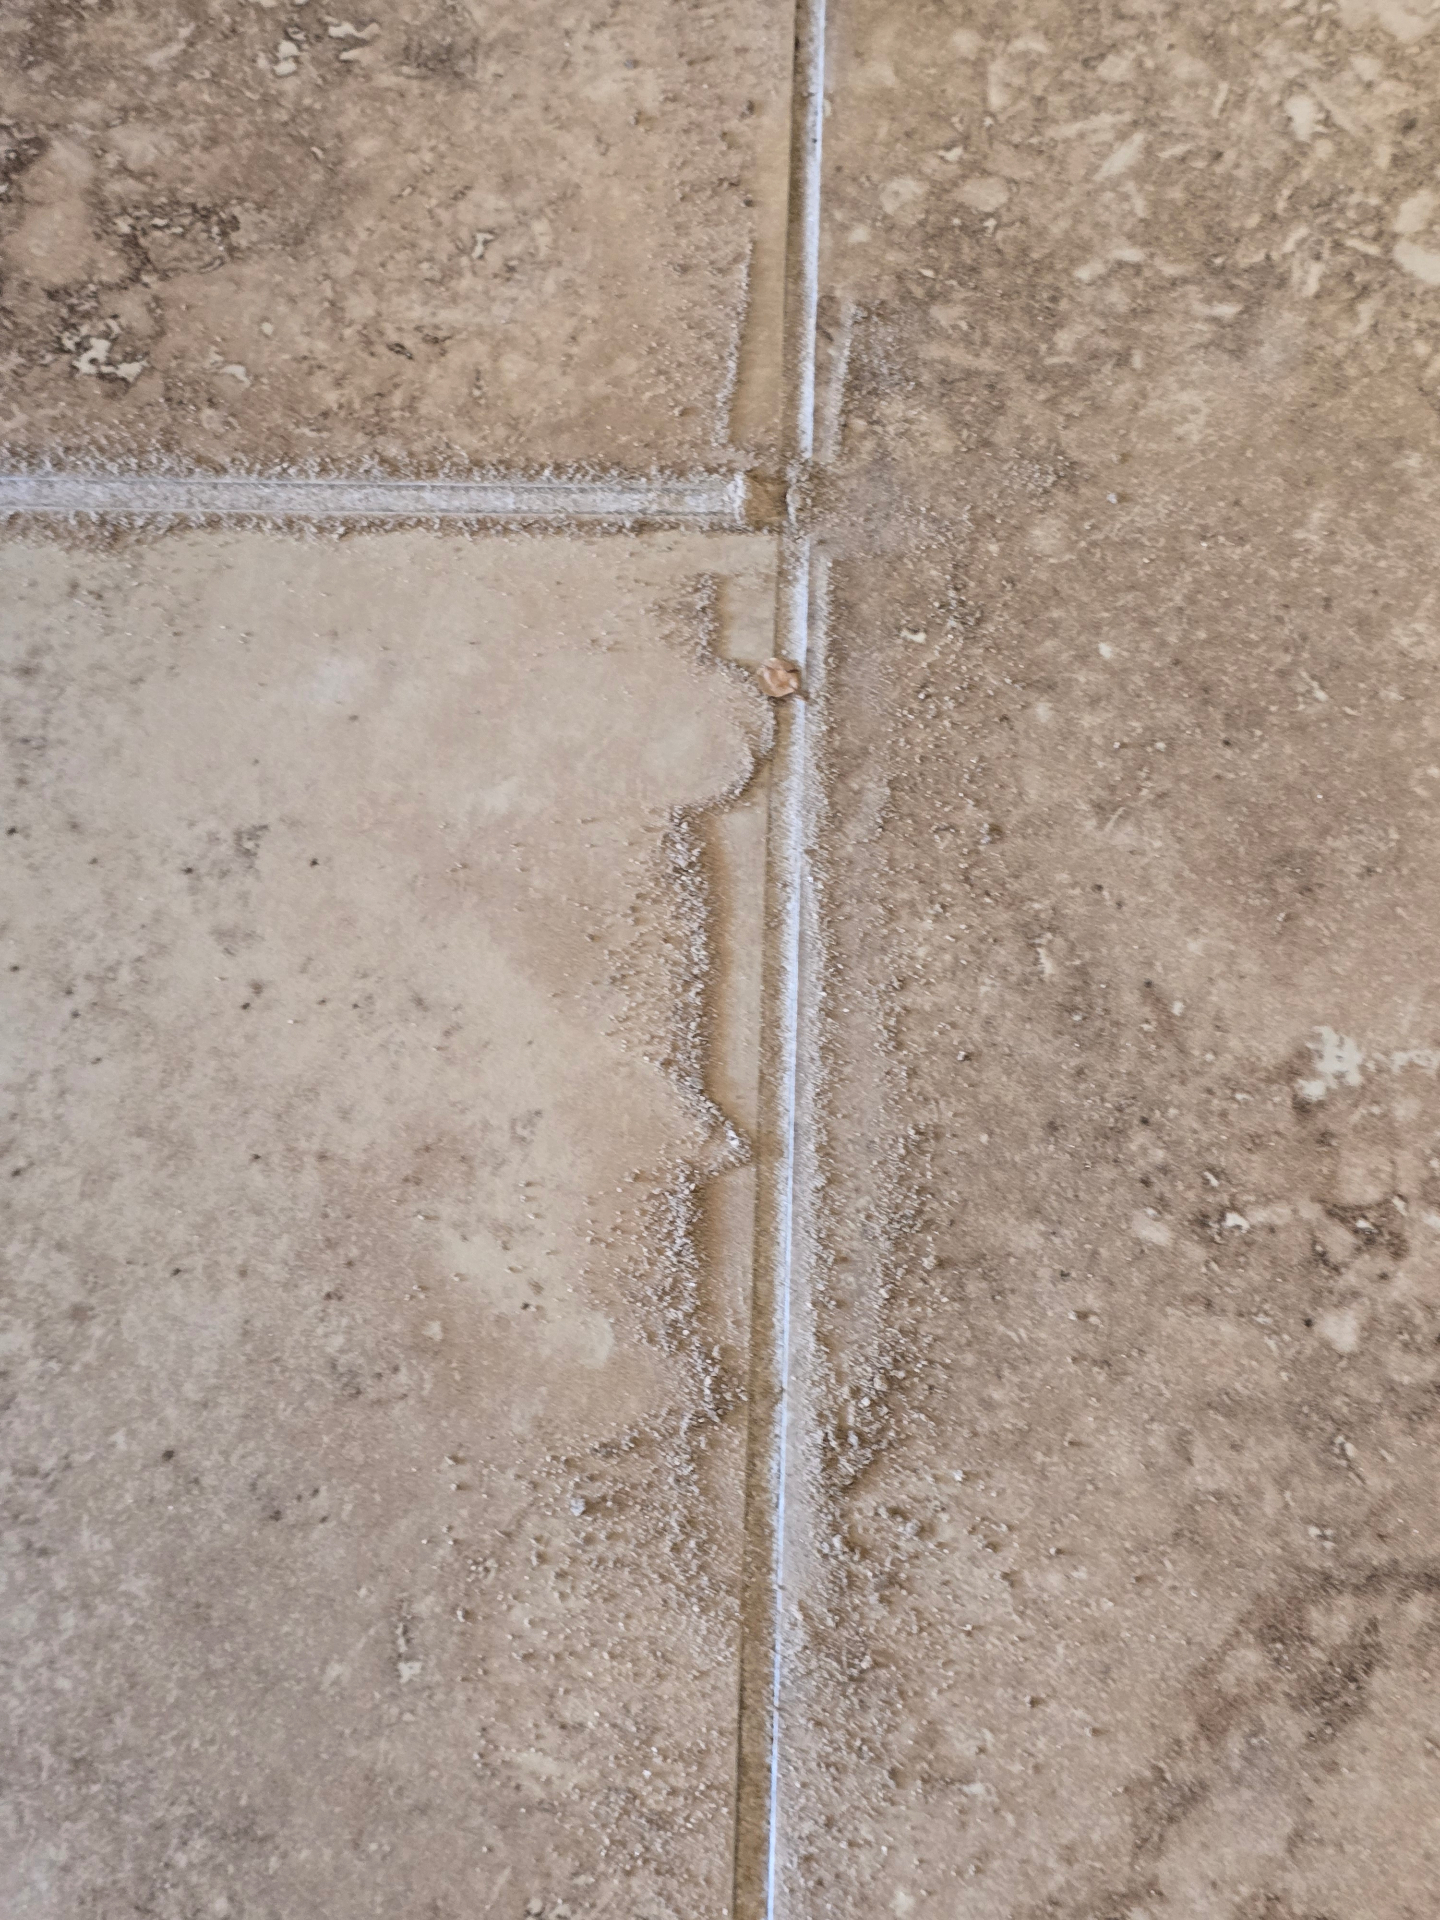
Not all white powder on new grout is the same thing. Efflorescence is a temporary surface deposit of soluble salts that migrate to the top as the grout cures. It looks alarming but wipes away with a damp cloth and a pH-neutral cleaner. True powdery failure is structural: the grout itself is soft all the way through. The test is simple. Wipe a section clean with a damp microfiber. If the white returns within a few days, it is efflorescence. If the joint stays gritty, pits, or you can flick particles out with a fingernail, the grout has failed and surface cleaning will not fix it.
Your Builder Warranty Window Is Shorter Than You Think
Most production builders in the East Valley write tile and grout installation under a one-year workmanship warranty that begins the day you close. That clock does not stop while you decide whether the problem is serious. If you are inside that window, document everything in writing now and request a builder walk-through. If you are outside it, you still have options, but the path changes from a warranty claim to a paid restoration.
- Photograph every affected joint in clear natural light with a coin or ruler for scale
- Run a dry fingertip across joints and capture short video of dust lifting onto your finger
- Note the exact rooms, square footage, and tile types affected
- Submit a written warranty claim through the builder's customer care portal, not verbally
- Request that an independent tile inspector be allowed on site, not just the original installer
- Save every email and response in a dedicated folder in case the claim escalates
Lazona Tile Care performs independent new construction tile and grout inspections across the East Valley. A written third-party report dramatically strengthens a builder warranty claim and often shifts the conversation from 'normal cosmetic wear' to a covered defect.
A Real Queen Creek New Build Case Study
A homeowner in Queen Creek called us 18 months after closing on a four-bedroom production build. The grout in both upstairs bathrooms and the laundry room was sandy enough that the vacuum was pulling joint material out every week. The builder's response was that the grout was 'normal' and that color sealing was her responsibility. We performed an independent inspection, documented soft joints in 11 separate locations, and provided a written report citing TCNA and ANSI installation standards.
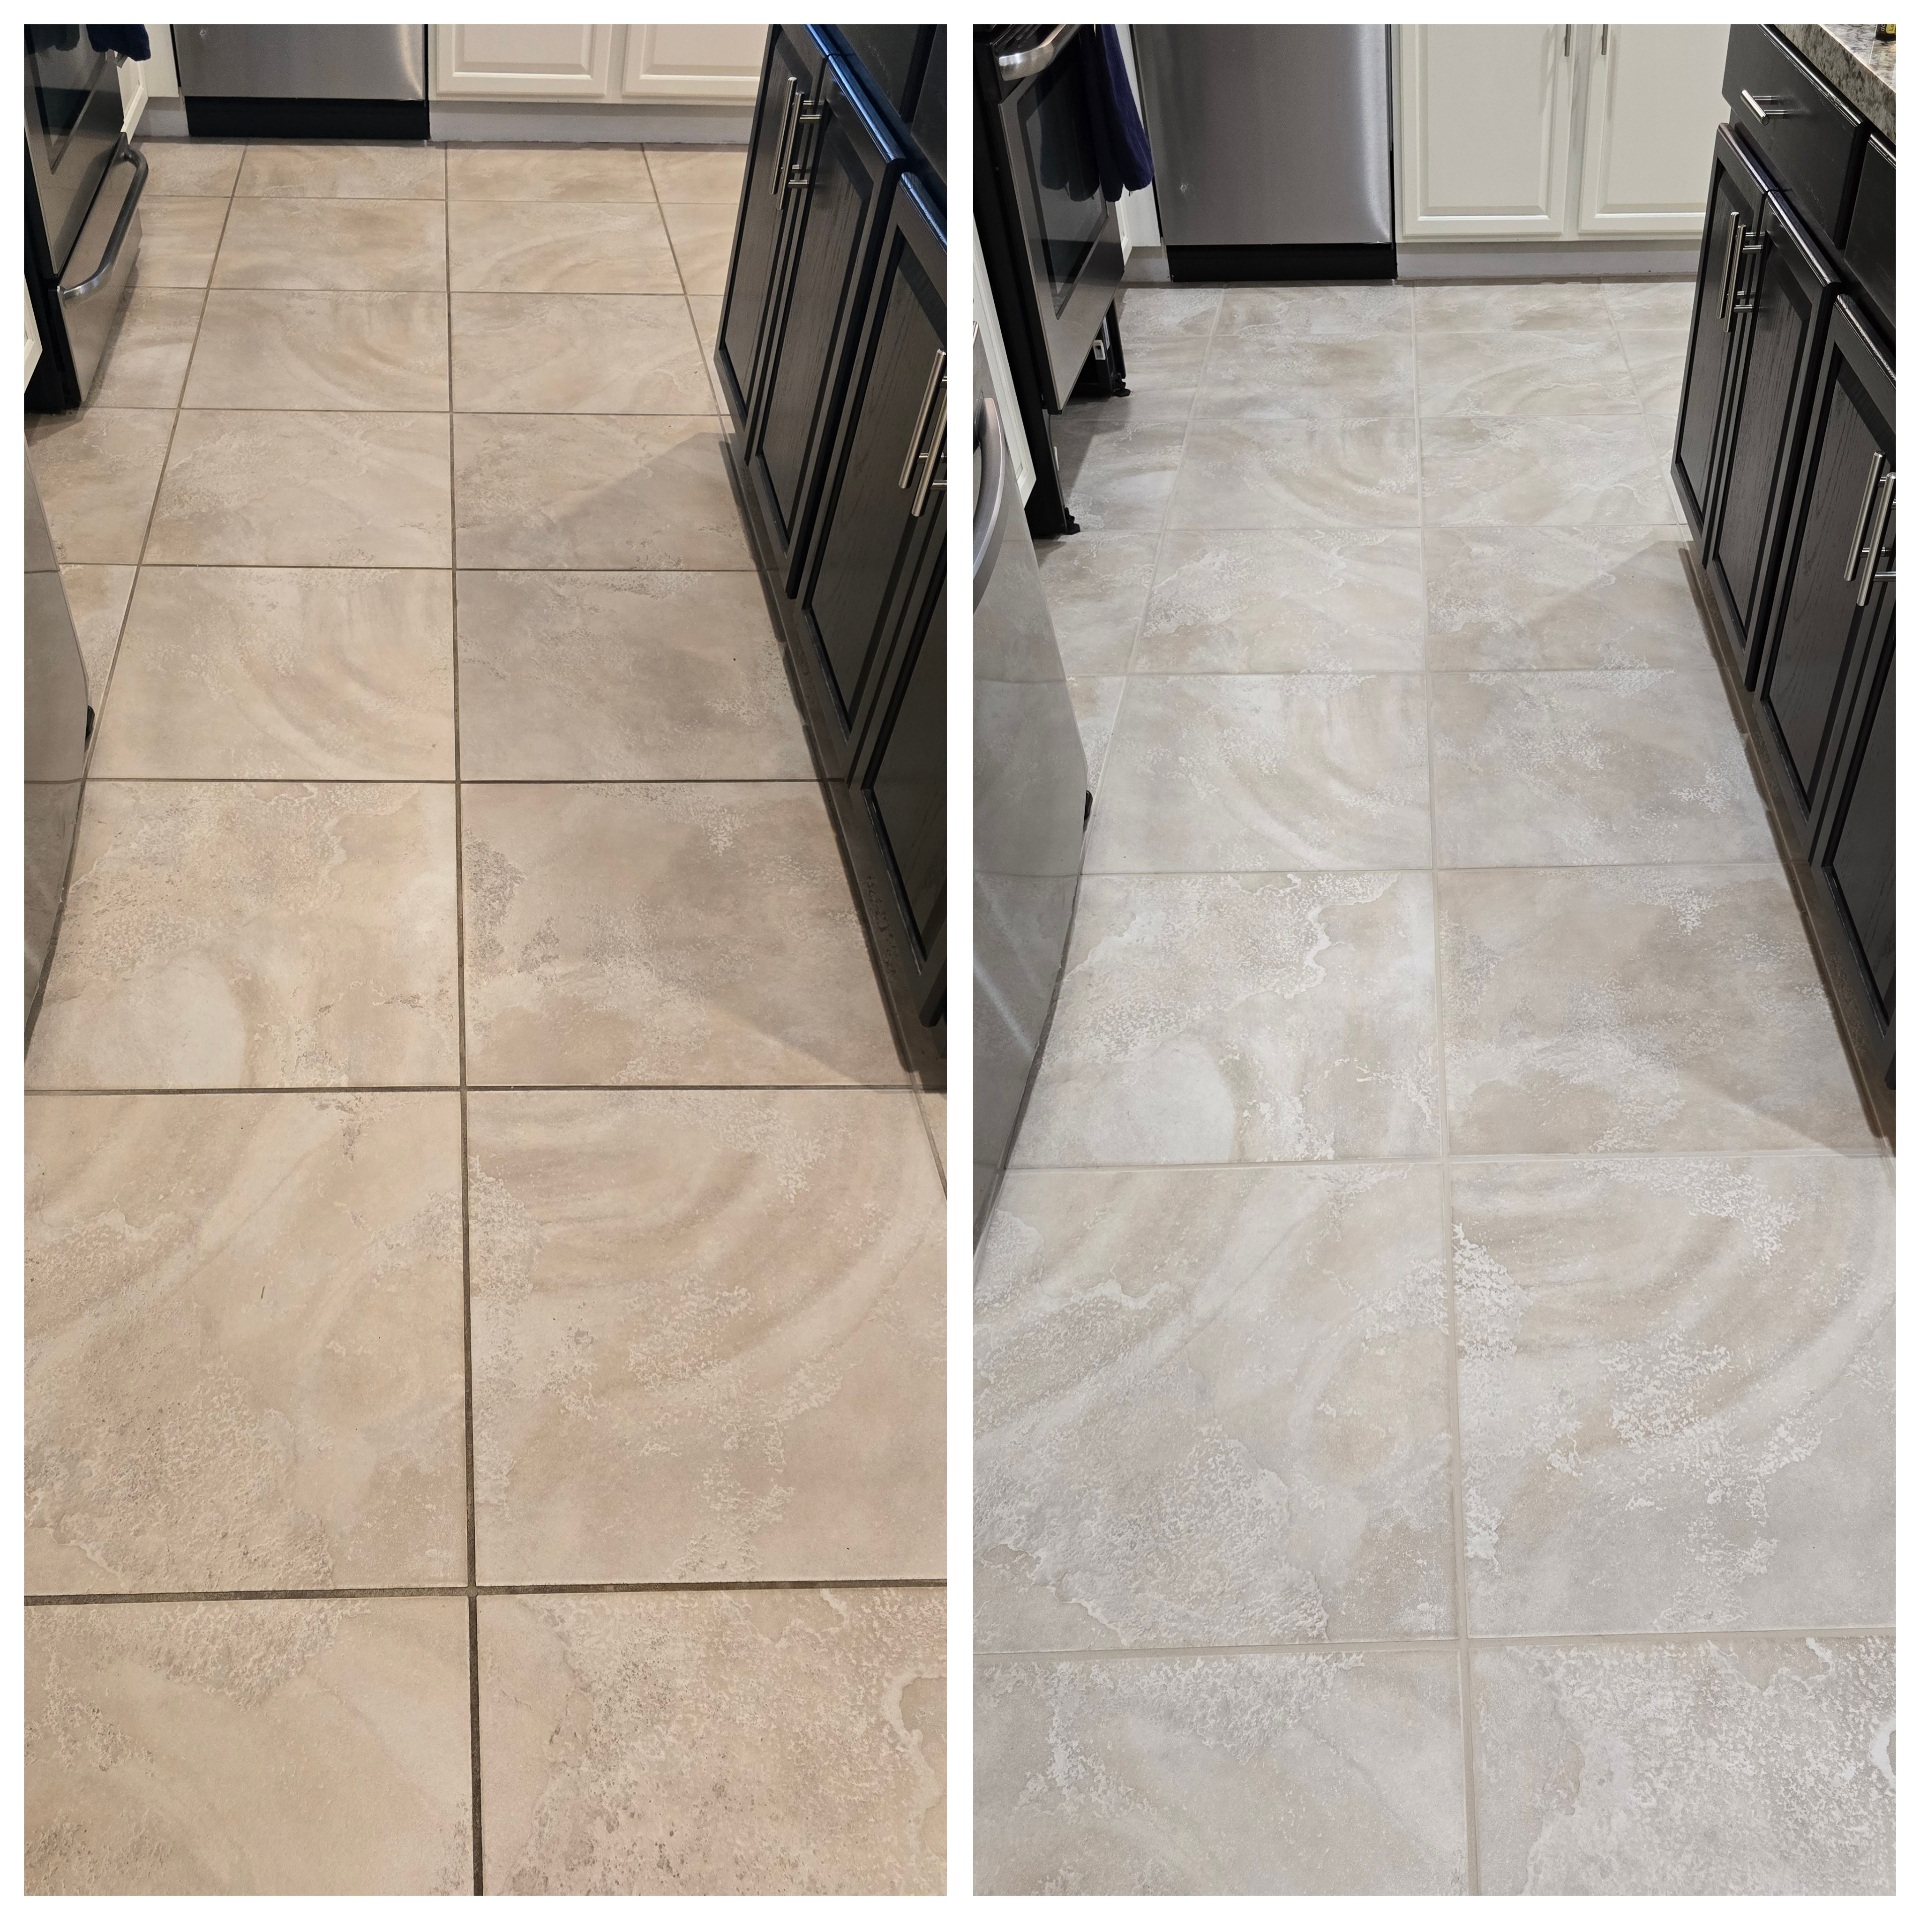
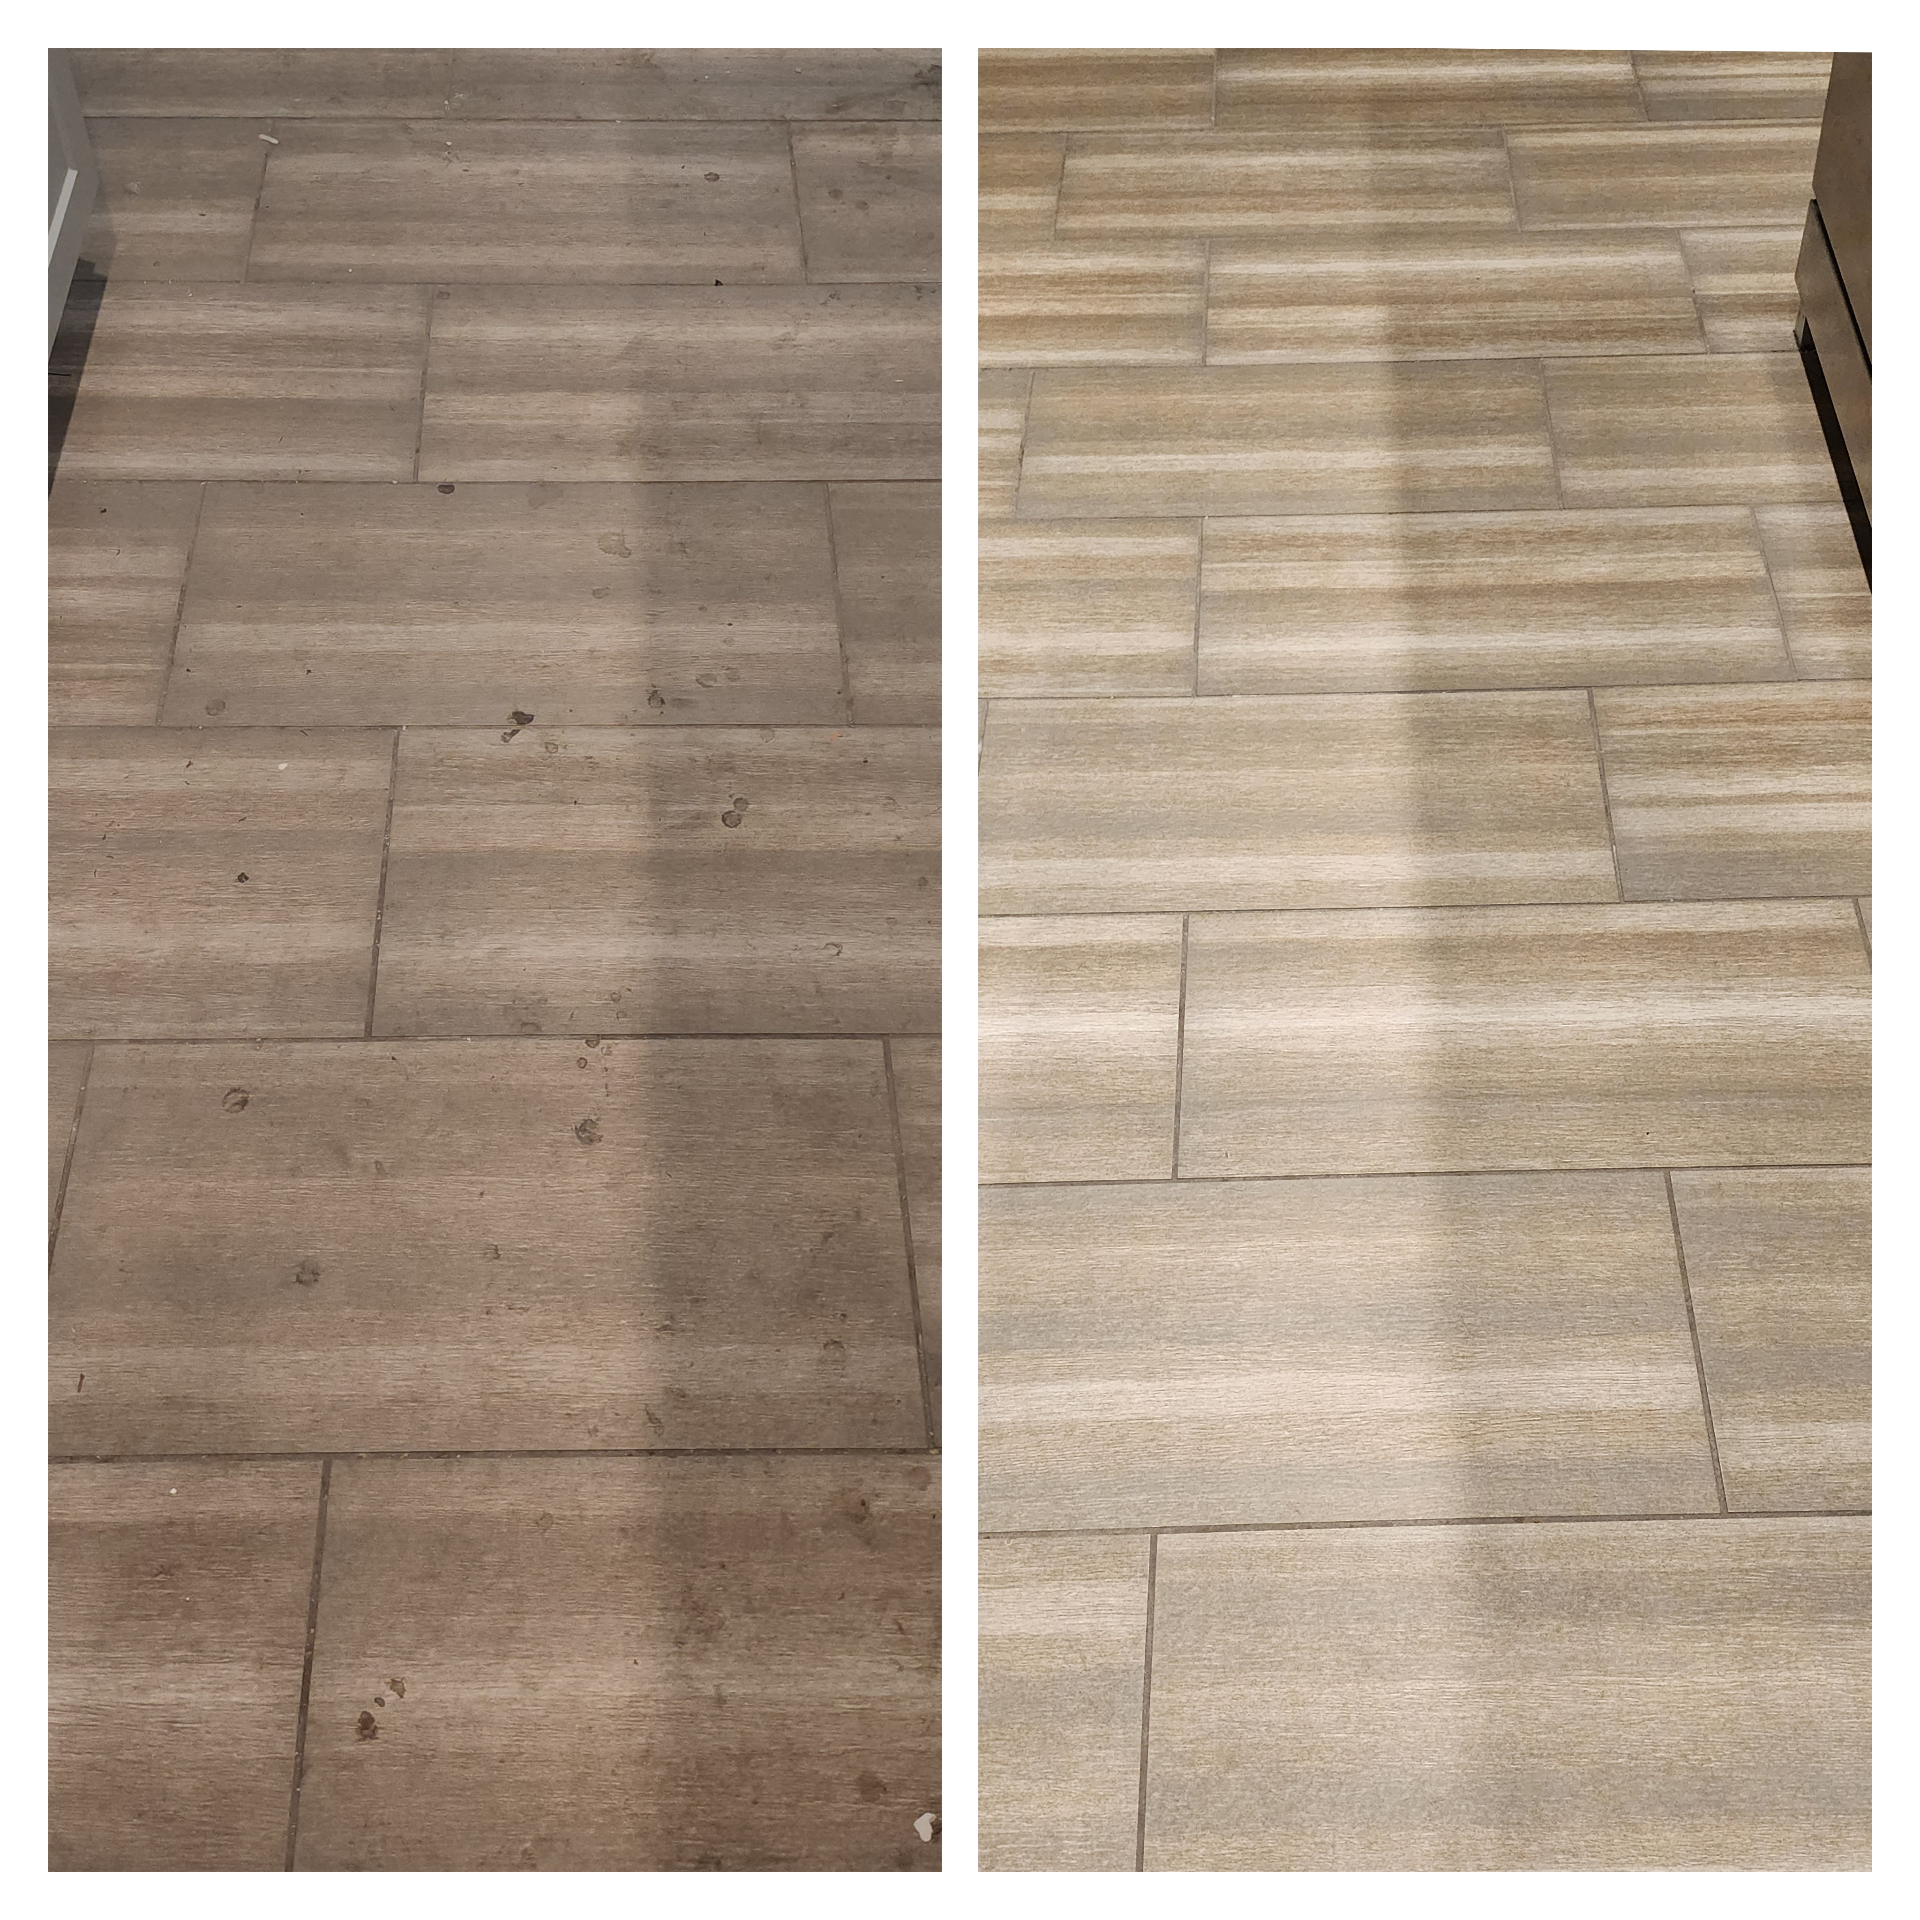
With that report attached to a second warranty claim, the builder agreed to fund a partial regrout in the worst areas. We then color sealed every remaining joint in the house with our 15-Year Warranty. Total out-of-pocket cost to the homeowner: zero on the regrout, and a fraction of a full tear-out on the color seal. She avoided a $14,000 contractor quote that would have ripped out perfectly good tile.
How Powdery Grout Is Actually Fixed
There are exactly three legitimate fixes for powdery cement grout. Anything else is a temporary cover-up. The right fix depends on how deep the failure runs and how much pigment is left.
- Color sealing only: if the grout is structurally sound but surface-soft, a professional acrylic-urethane color seal penetrates the top layer, locks loose particles, restores uniform color, and adds a 15-Year stain-proof surface
- Partial regrout plus color seal: failed sections are ground out and replaced, then the entire floor or wall is color sealed for a uniform appearance and warranty coverage
- Full regrout: if more than roughly 30% of joints are crumbling or have lost depth, the entire installation should be ground out and replaced before any sealing is attempted
What does not work: topical sealers from the home improvement store, additional layers of grout smeared over the old joint, or 'grout paint' sold for DIY refresh. None of those penetrate the failed cement matrix and all of them peel, blotch, or trap moisture within weeks under Arizona conditions.
How to Stop New Powdery Grout from Getting Worse
While you are pursuing a warranty claim or scheduling restoration, you can slow the deterioration with the right cleaning approach. The wrong products will accelerate failure dramatically.
- Do not use vinegar, lemon, CLR, or any acidic cleaner on cement grout under any circumstances
- Do not use bleach as a routine cleaner; it strips polymer binders and makes powdery grout worse
- Use pH-neutral cleaners only, applied with a soft microfiber, not stiff brushes
- Vacuum with a soft brush attachment instead of dragging beater bars over weak joints
- Keep humidity stable; rapid swings between dry HVAC air and steamy showers accelerate cracking
- Avoid steam cleaners on weak grout; the pressure and heat blow loose particles out of the joint
When to Call Lazona Tile Care
If your East Valley home is less than two years old and the grout is already failing, the worst thing you can do is wait. Builder warranty windows close, joints deepen, and what could have been a single-day color seal can turn into a full regrout. Lazona Tile Care provides independent inspections, written reports formatted for builder claims, partial regrout, and color sealing backed by our 15-Year Warranty across Chandler, Gilbert, Queen Creek, Mesa, Tempe, Scottsdale, Paradise Valley, and the entire East Valley.
Whether your build is six months or six years old, the grout can almost always be saved without tearing out the tile. Call Lazona Tile Care for a free new construction grout assessment.